So for this project I decided I wanted to try turning these round pieces of wood I got from a friend into clocks. And I wanted to try the beach scene with epoxy.
I have seen them everywhere on Pinterest, and I have done the ocean scene with my project, “ocean scene picture”. And I really thought they were cute.
Getting Started
So I got started with my pieces of round wood. I chose one that I thought would be the perfect size and I sanded it down.
Once it was sanded down, I started getting my epoxy ready for its part. I had to use 3 different colors for this scene. I used the midnight blue for the dark blue color. And then I got a lighter shade of blue for the color under it. Then of course white for the end of it. And I about forgot to mention the sand!
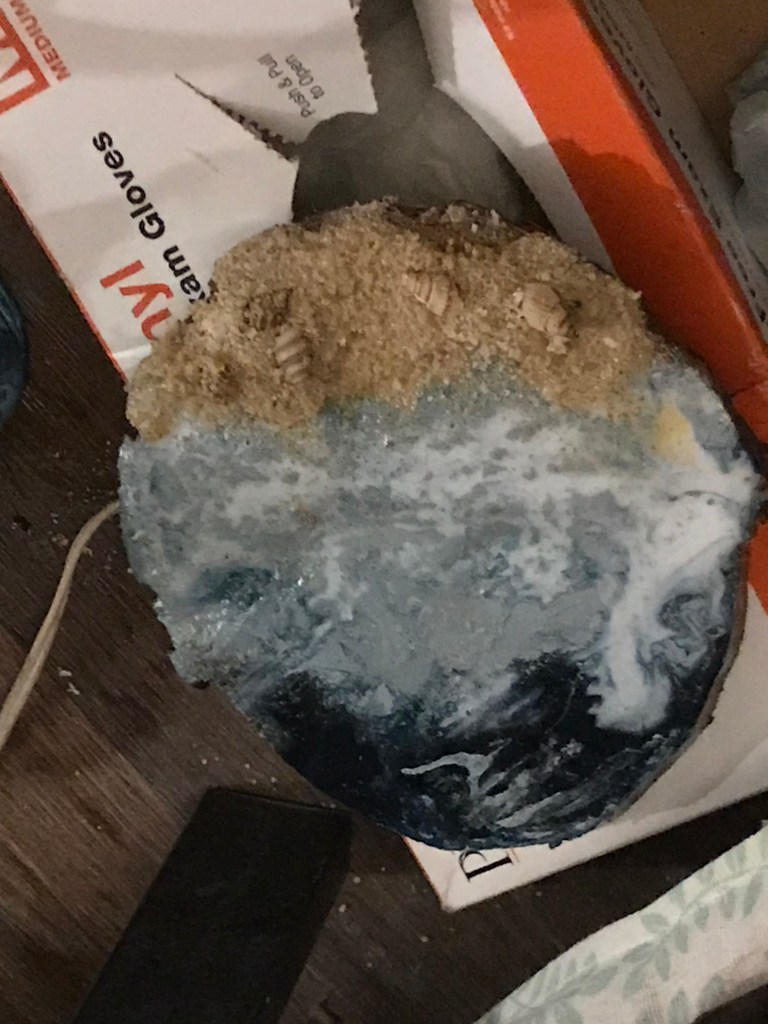
I decided to use real sand for the beach area. And why stop there? I decided that I would put a few seashells in there also. And it seemed to work out pretty well. I at least have had no issues with anything falling off of it! So that is good so far.


I just put the sand on the areas that I wanted the beach to appear to be, and then I added the epoxy on top of it. This was when I put in my little seashells. Making sure that they had plenty of epoxy on them. I then let it all cure until it was all the way hardened. You can tell by my picture above that I am a very messy person when it comes to working with epoxy!
So once the epoxy over the sand was cured, I then started putting the blues at the top. I started with the dark blue and then put my lighter blue directly underneath.


After I got my blues on there how I wanted them, I then got my white ready. I added thin streams of white. Then I took my heat gun and started pushing the white around. Giving them the appearance of being waves.


Once my waves were done I then started working on getting my clock parts inserted in it. I started off with getting my Dewalt impact driver drill out. And I used it to drill my hole for my clock pieces to fit through in the very center of my round wood piece.
And to be quite honest I just eyeballed where the middle was at and went with it. I know some people will do some precise things to be sure they are exactly in the middle, but I am more of a best guesser when it comes to that sort of stuff.



So I hope some of you out there will try this project out. It is a simple project that has so many different ways you could go about doing it. Change it up a little or try it just like I did. You will be happy with your results in the end. So good luck and happy projecting!

Leave a Reply